
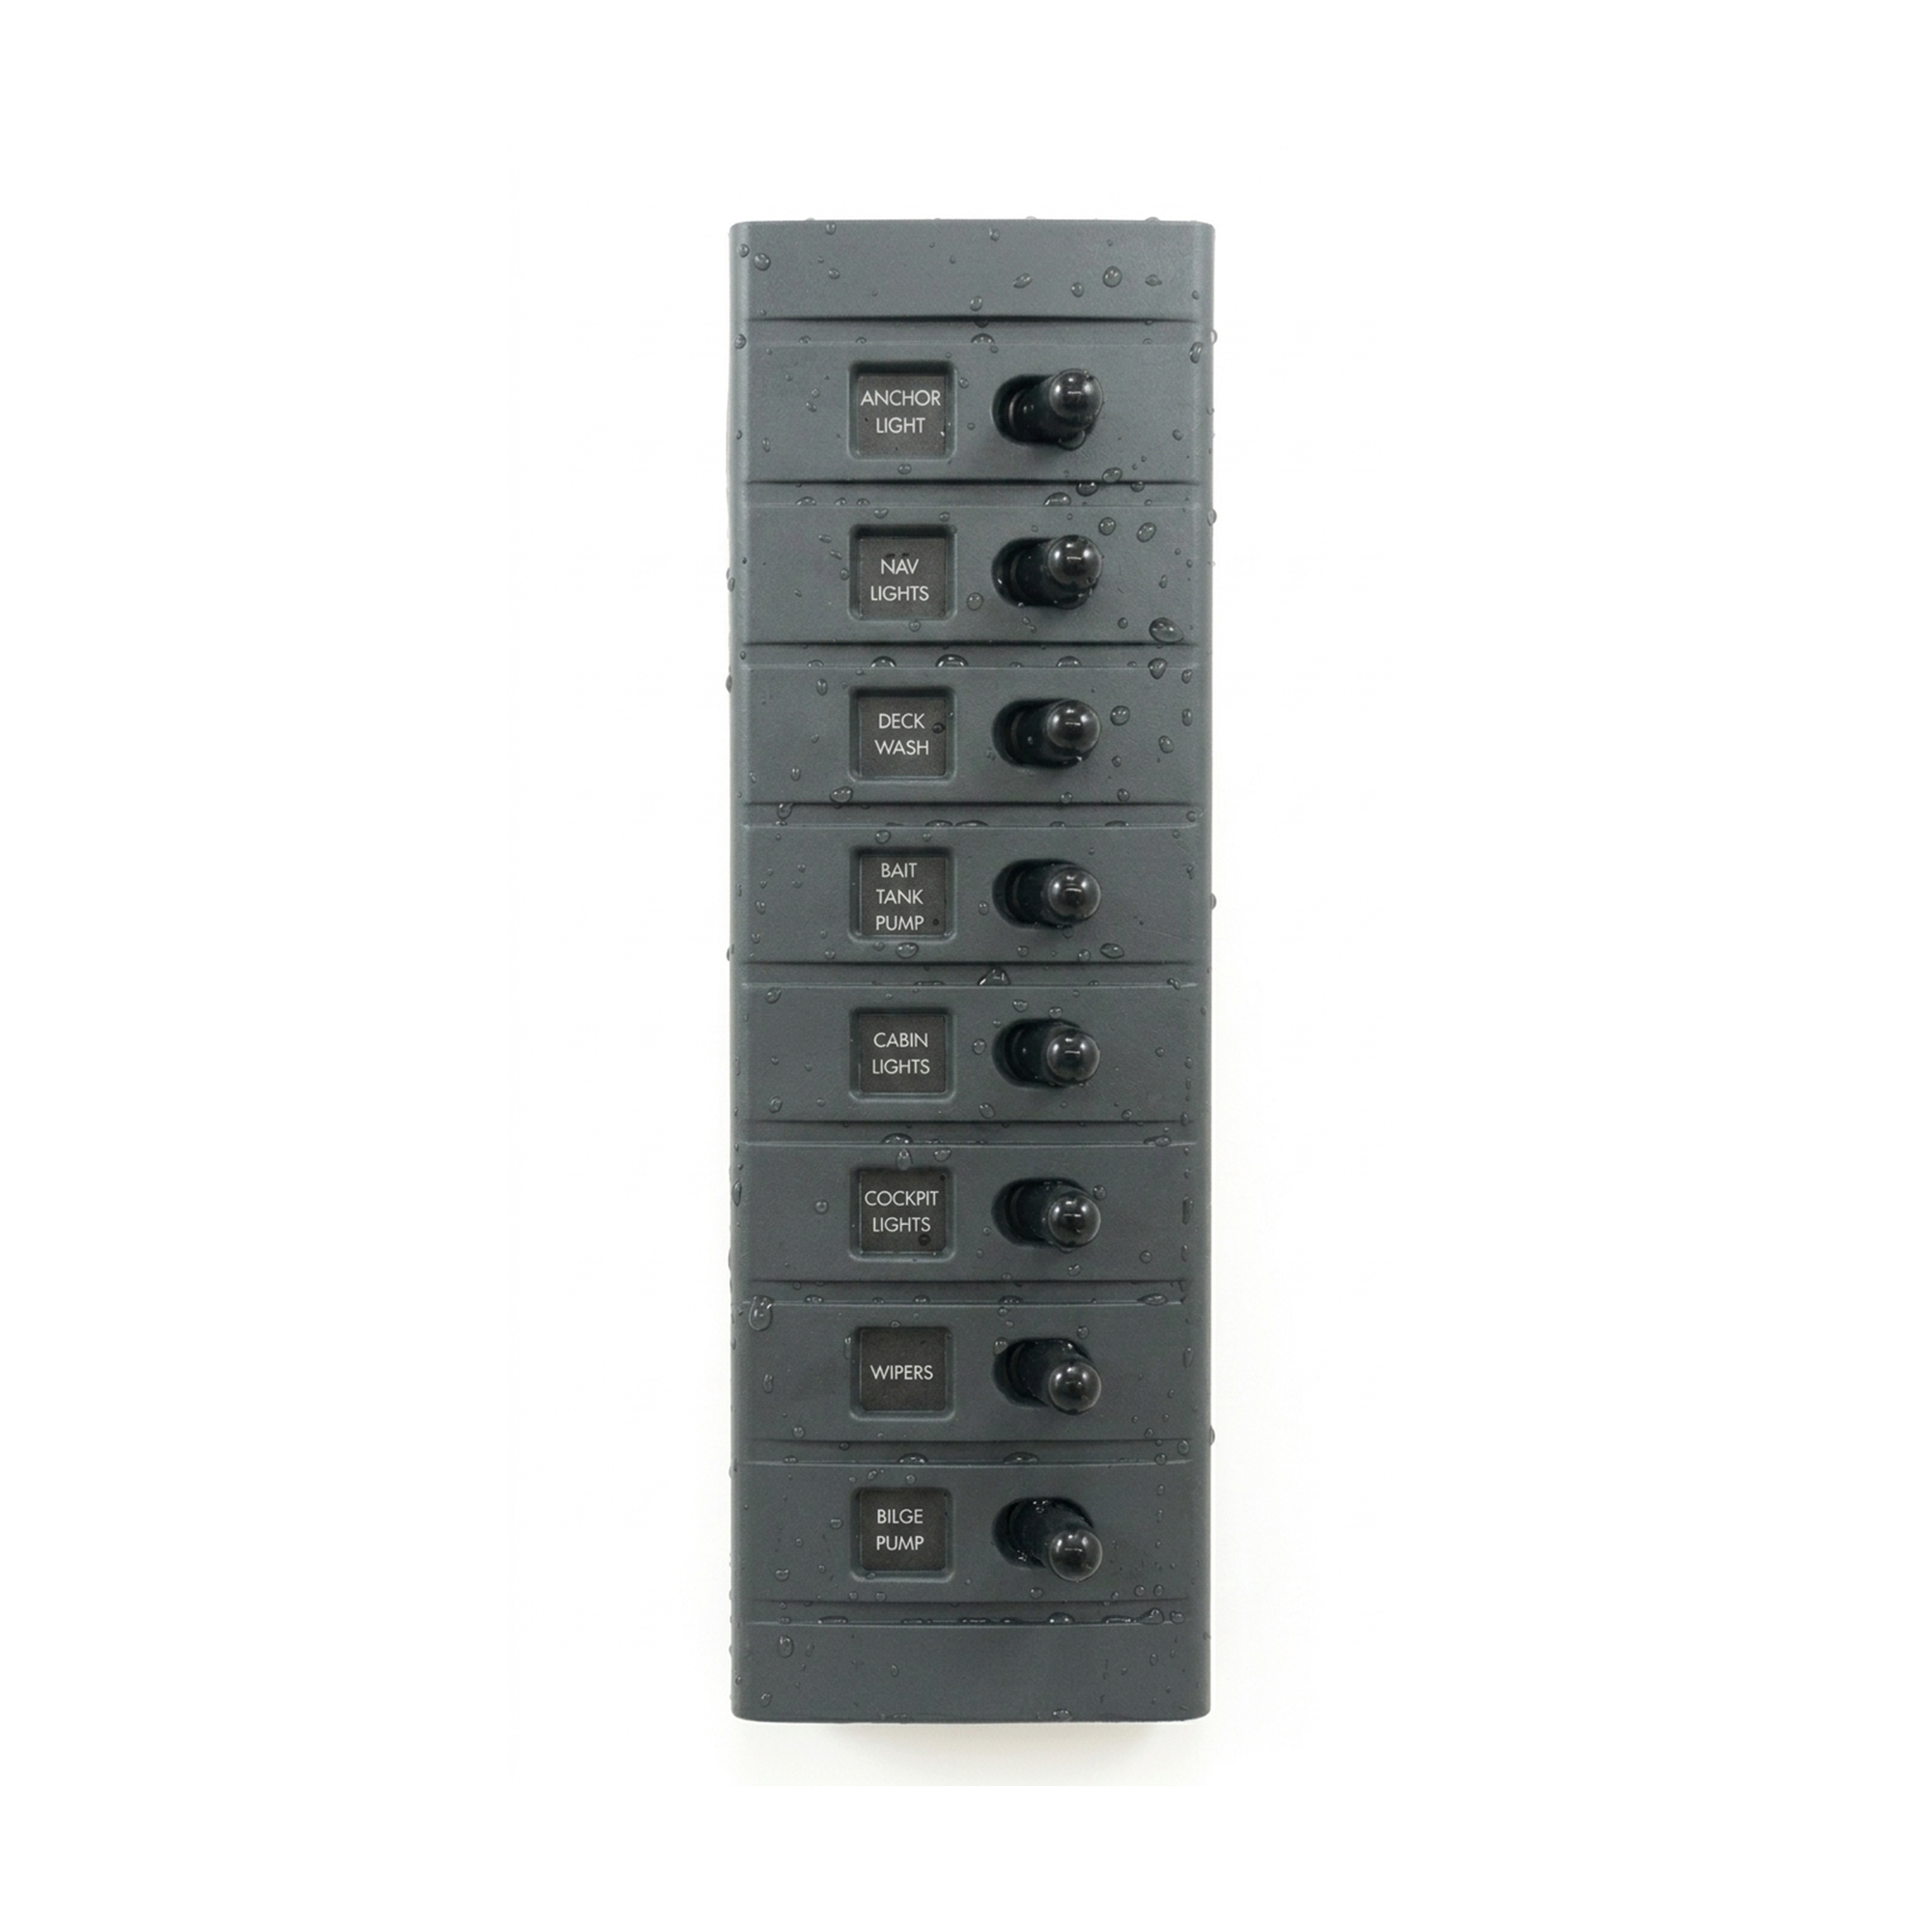


Connex Waterproof Switch Panel – 8 Switch
Connex Waterproof Switch Panel 8 Switch
$179.95
Key specifications
| Product weight | .550 kg |
|---|---|
| Packed dimensions | 21 × 11 × 7 cm |
| Product code | SWITCH-SP81M |
Product features
-
Run a positive 12V wire from the battery to the switch panel input.
-
Install an inline fuse at the battery end.
-
Connect the negative wire to a clean chassis earth or main ground point.
Need help?
Our team is here to help you find the right parts for your trailer.
- Call us03 9457 3060
- Email ussales@holroyd.com.au
- Send an enquiryAsk about this part
Product details
Connex Waterproof Switch Panel 8
Engineered for reliability in demanding environments, Connex waterproof switch panels deliver safe and convenient control for electrical systems on boats, caravans, RVs, and outdoor equipment. Built with an IP65 waterproof rating, each panel is fully sealed against moisture and dust, ensuring dependable performance in marine and all-weather conditions.
Designed with practicality in mind, Connex panels feature integrated fuse protection and LED indicators, making it easy to monitor circuits and identify blown fuses at a glance. Backlit labels provide clear visibility in low-light settings, while durable construction and high-quality components offer long-lasting resistance to corrosion and wear.
Whether used for navigation lights, bilge pumps, accessories, or power outlets, Connex waterproof switches combine robust protection with user-friendly design, making them the trusted choice for professionals and enthusiasts alike.
Frequently Asked Questions
-
What is the Connex Waterproof Switch Panel 8 Switch used for?
It gives you control of up to eight separate 12V accessories from one mounted panel. -
Is it waterproof?
Yes. The faceplate is sealed and splash resistant, ideal for caravans, 4WDs and marine setups. -
What can I run from it?
LED lights, water pumps, fans, compressors, radios, and most 12V accessories within the load rating. -
How do I wire it?
Connect each switch to its accessory and the panel to a fused 12V supply. -
Can it be installed in a boat or exposed area?
Yes. The corrosion-resistant materials make it suitable for outdoor and marine environments. -
Do the switches light up?
Yes. Each switch is backlit so you can see it easily in low light. -
Will it drain my battery?
The backlighting draws very little power and will not drain a healthy battery. -
Is it suitable for permanent installation?
Yes. The panel is designed for long term mounting in vehicles and equipment. -
Does it come with labels?
Yes. Switch labels are included so you can customise each circuit. -
Is installation beginner friendly?
Yes. The simple layout makes it suitable for basic DIY installs.
Tips & Tricks
Installation Instructions
-
Choose Your Mounting Location
Select a flat, reachable area. Avoid direct water spray, high vibration zones or heat sources. -
Cut the Opening If Needed
If recess mounting, mark the outline, cut the hole and check the fit. -
Connect the Main Power Feed
- Run a positive 12V wire from the battery to the switch panel input.
- Install an inline fuse at the battery end.
- Connect the negative wire to a clean chassis earth or main ground point.
-
Wire Each Accessory
- Connect the output from each switch to the positive feed of the accessory.
- Make sure each accessory has a proper ground connection.
-
Secure the Panel
Use the supplied screws to mount the panel firmly. -
Test All Circuits
Switch each output on and confirm the connected accessory works correctly. -
Final Inspection
Ensure wires are tidy, protected and secured away from sharp edges or moving components.
Tips and Tricks (Including Installation Tips)
-
- Map out which accessory goes on each switch before wiring to keep things organised.
- Use heat shrink connectors for weather resistant, long lasting joints.
- Keep the main fuse as close as possible to the battery for safety.
- Label each switch so you always know what you are turning on in the dark.
- Use heavier gauge cable for high draw devices like pumps and compressors.
- Group wires into neat looms to avoid clutter and make future upgrades easy.
- Use tinned copper cable if installing in marine environments.
- Avoid grounding multiple high draw items to one point. Give each one a proper earth.
- Test everything before tightening the screws so you are not removing the panel again.
- If installing in harsh environments, use a foam or rubber gasket behind the panel.
- Periodically check screws and terminals, especially in 4WDs or boats where vibration is common.
Product Specifications
| Specification | Value / Description |
|---|---|
| Model / Part Number | SP81M (8-Way Marine Switch Panel) |
| Operating Voltage | 12 V DC |
| Number of Switches / Circuits | 8 individual circuits |
| Switch Current Rating | 15 A maximum per switch |
| Fuse Type / Protection | Standard automotive blade fuses (one per circuit) |
| Fuse Indication | Red LED lights up when fuse is blown |
| Switch “ON” Indicator | Red LED illuminates when the switch is active |
| Backlighting | Soft green backlit labels for visibility in low light |
| Label Set | Includes self-adhesive legends for each switch |
| Waterproof Rating | IP65 – resistant to water jets and spray (not submersible) |
| Construction / Sealing | One-piece sealed back plate with rubber switch boots and gaskets |
| Cover / Front Panel | Clip-on nylon front cover concealing screws and fuses |
| Materials / Finish | Black ABS housing with stainless steel mounting screws |
| Mounting Method | Surface mount with four stainless screws (included) |
| Wiring Connection | Rear 6.3 mm spade terminals (pre-terminated) |
| Typical Applications | Marine vessels, caravans, RVs, 4WDs, and off-road setups |
Related products
-

Connex Waterproof Switch Panel – 4 Switch
View product: Connex Waterproof Switch Panel – 4 SwitchConnex Waterproof Switch Panel 4 Switch
-
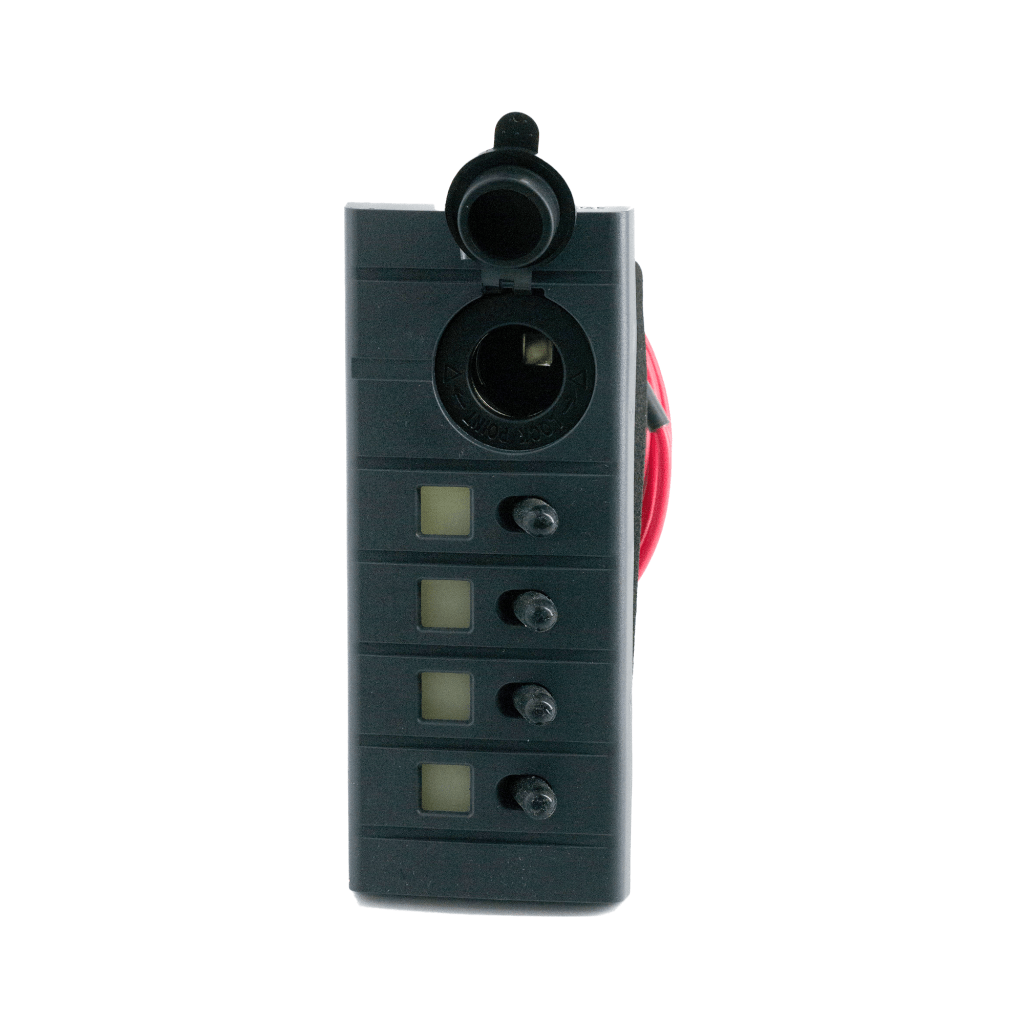
Connex Waterproof Switch Panel – 4 Switch Plus 12V Socket
View product: Connex Waterproof Switch Panel – 4 Switch Plus 12V SocketConnex Waterproof Switch Panel 4 Switch Plus 12V…
-
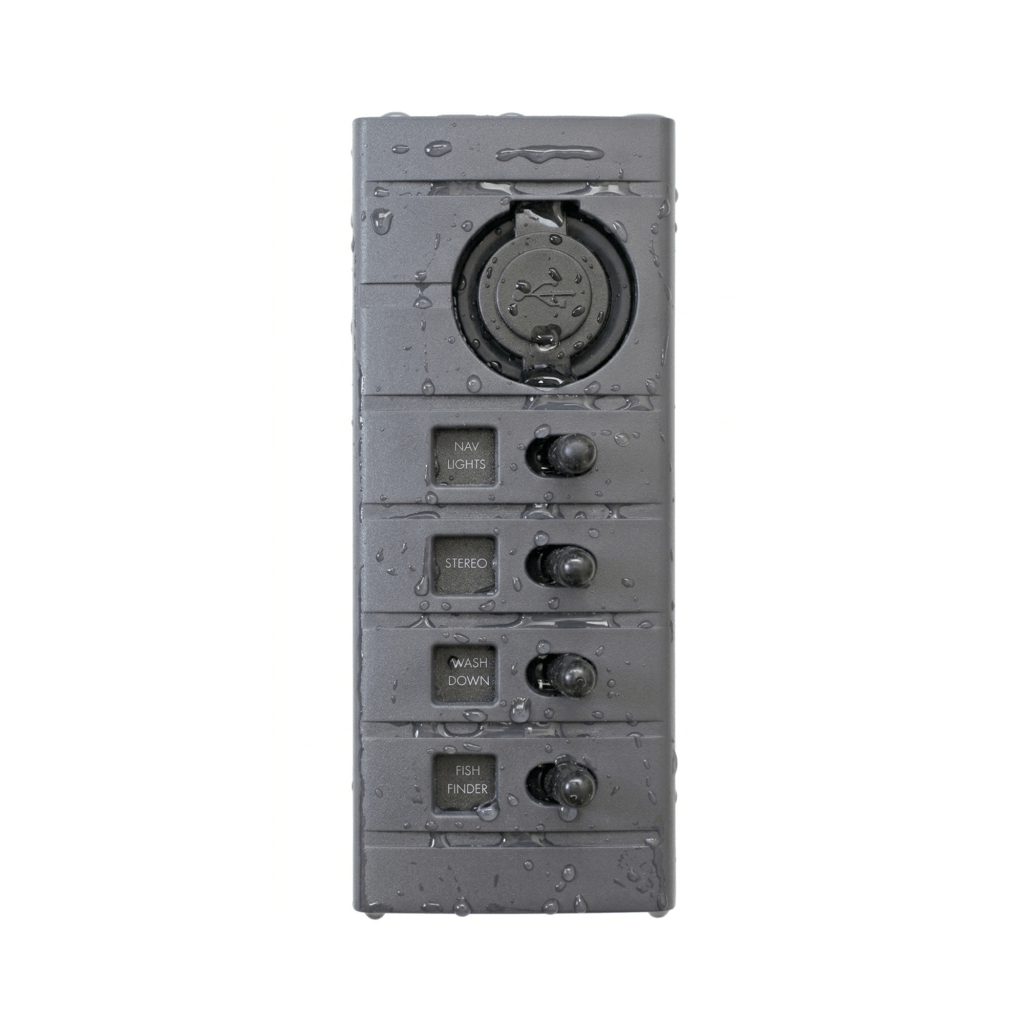
Connex Waterproof Switch Panel – 4 Switch Plus USB
View product: Connex Waterproof Switch Panel – 4 Switch Plus USBConnex Waterproof Switch Panel 4 Switch Plus USB …
-
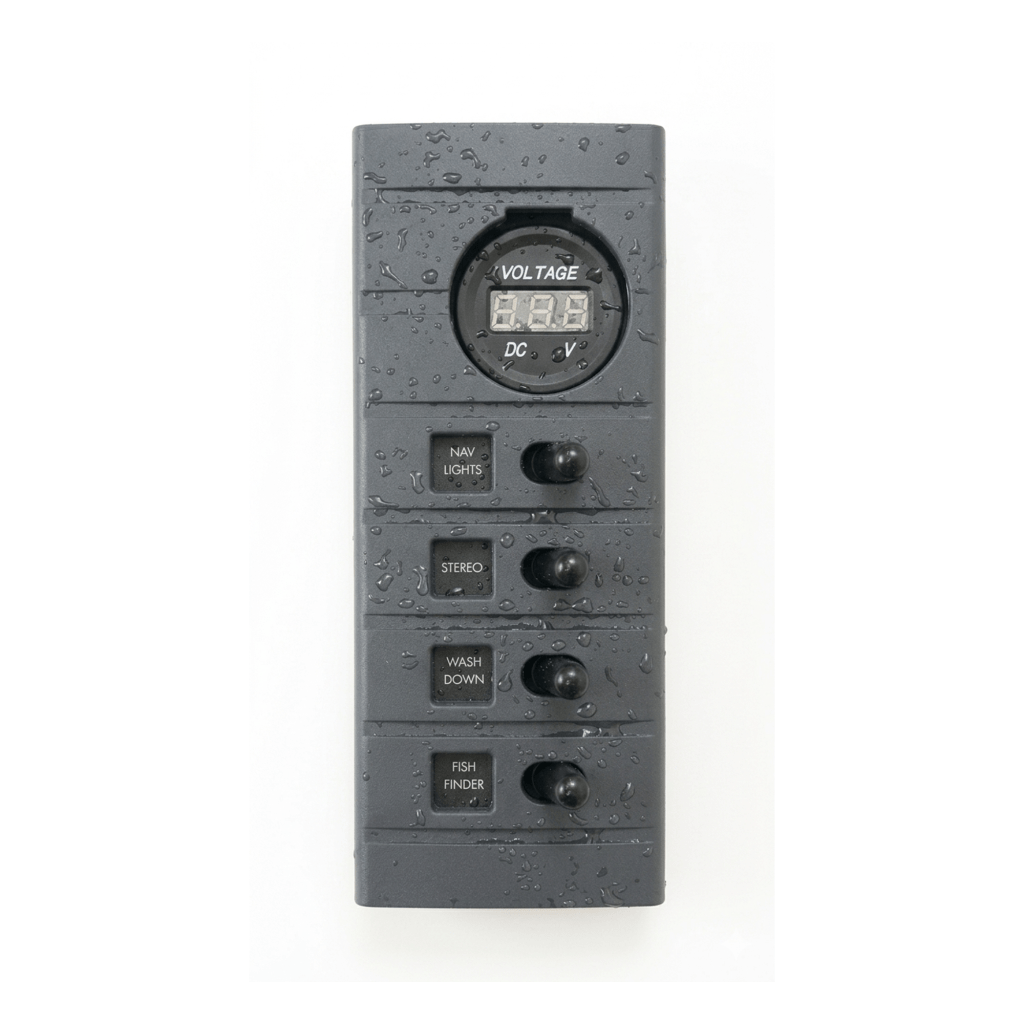
Connex Waterproof Switch Panel – 4 Switch Plus Voltmeter
View product: Connex Waterproof Switch Panel – 4 Switch Plus VoltmeterConnex Waterproof Switch Panel 4 Switch Plus Voltmeter
-

Connex Waterproof Switch Panel – 6 Switch
View product: Connex Waterproof Switch Panel – 6 SwitchConnex Waterproof Switch Panel 6 Switch
- Australian companySupplying trailer and caravan builders from Bayswater, Victoria.
- Built to lastEngineered for strength and durability.
- Australia-wideSupplying manufacturers, repairers and owners.
- Expert supportProduct advice from the Holroyd team.
Reviews
There are no reviews yet.